


The vast majority of models for stable diffusion have been trained on 512x512 images, except for stable diffusion 2.x which were trained on 768x768 images, and that resolution is the ideal one to generate images at. You can go a bit above that resolution and things will mostly be fine, but if you go too far your images will tend to become deformed with duplicate features or deformities, this can be fine for things like landscapes but it will severely mess up things like people and animals. For this blog post I am going to go over different ways to create higher resolution images with stable diffusion, specifically the automatic1111 web ui. Other programs and websites may be similar or have the same features.
For this post we'll be using the following prompt and settings for the images:
Positive prompt:
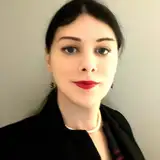
realistic, masterpiece, highly detailed, detailed face, detailed eyes, 10 year old girl, outside, public park, happy, schoolgirl uniform
Negative prompt:
lowres, bad anatomy, bad hands, text, error, missing fingers, polydactyly, deformed, extra digit, fewer digits, cropped, worst quality, low quality, normal quality, jpeg artifacts, signature, watermark, username, blurry, censored, censorship, extra limbs, extra arms, extra legs, black and white, monochrome
Steps: 80, Sampler: DPM++ 2M Karras, CFG scale: 12, Seed: 13628994, Size: 512x768, Model hash: 9c5800a9, Model: Berry's_mix_final_v2
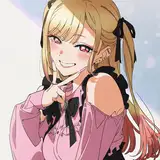
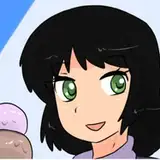
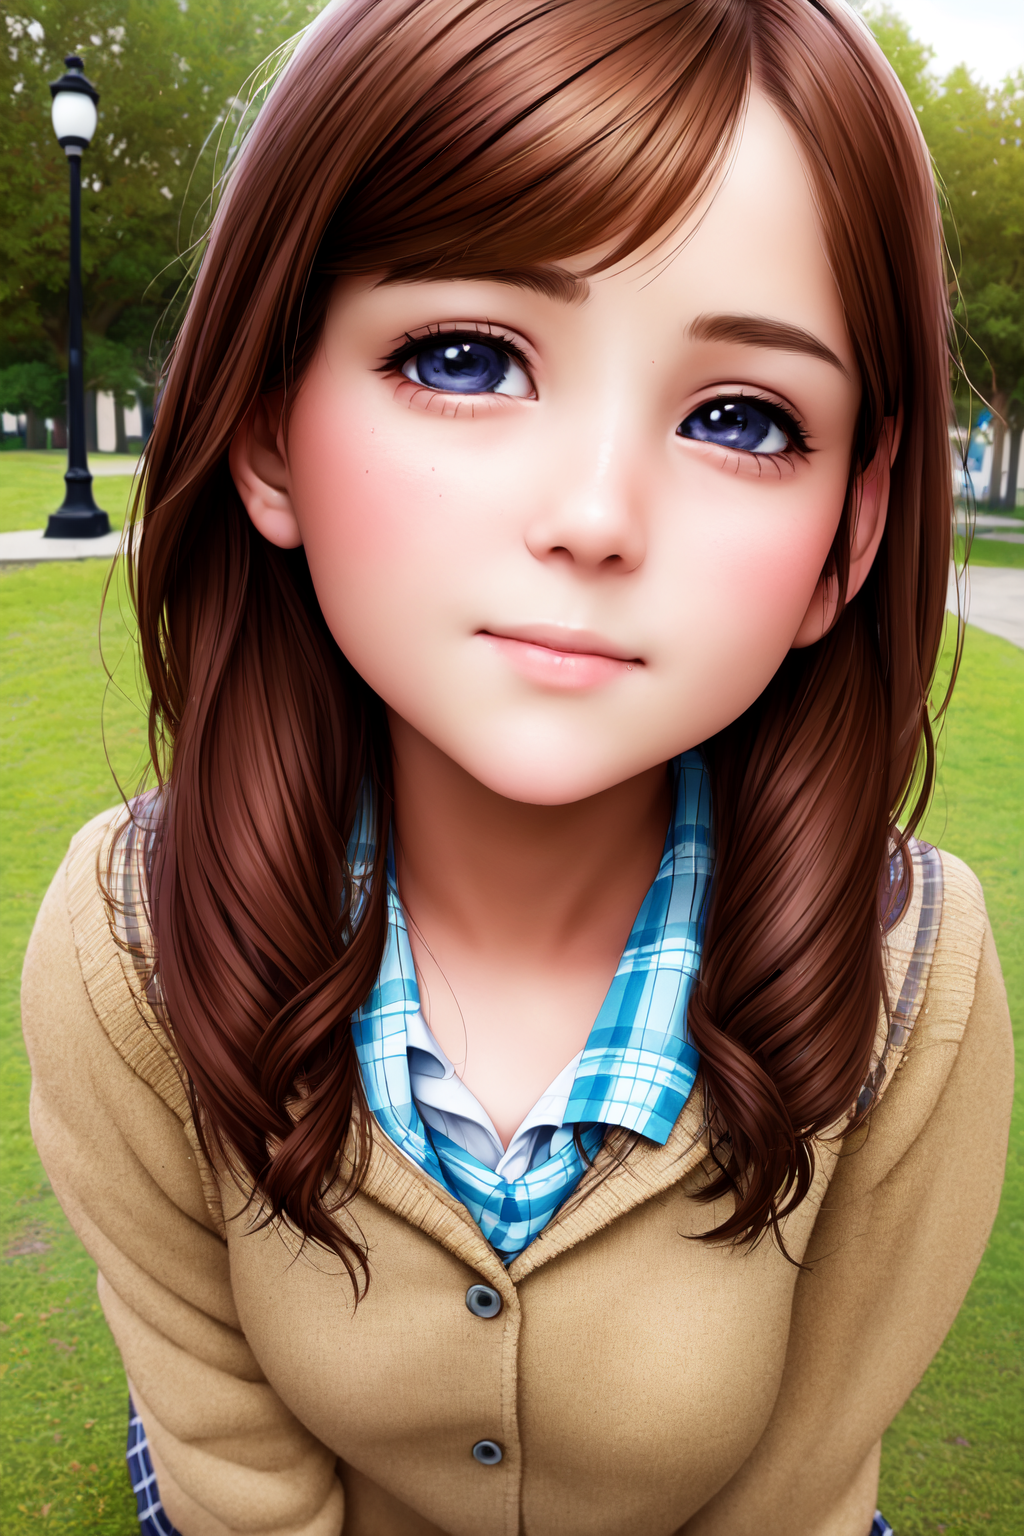
And the resultant image which took 17 seconds:
The image looks good and I don't see any major issues.
The most basic way to get higher resolution images is to directly set the resolution in the txt2img tab and generate an image at that resolution. This is a simple way to get higher resolution images, but it comes with some downsides. The first is what I said above, the images can get deformed and warped that may look horrible depending on the subject of the image. The second downside is that you are limited by your video card's vram. I have a card with 12GB of vram and can generate images with a mix size of 2432x2432, but a lot of them at that size will turn black due to running out of vram. The last downside is that the images will take a very long time to generate and you won't see if the image is good until near the end.
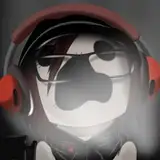
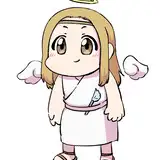
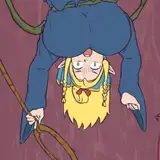
So, with that said let's generate using the same parameters above, but change the resolution to 1024x1536, or double the resolution. I don't have much hope for this, but let's see what happens.
This time the image took 2 minutes and 17 seconds to generate, an 8x increase.
Well, the image should clearly demonstrate the issue with doing it this way, but at least it's sharp with good details.
A better way to generate higher resolution images is by using the "highres, fix" option. What this does is to generate an image at a lower resolution, upscale that and then use that image as a base to generate a higher resolution image. This allows you to get around the deformity issues of making images larger than 512x512, but you are still limited by your vram and it will take a while to run at the higher resolution.
To use this you check the "Highres, fix" option in the txt2img tab and some new settings appear. The initial image resolution is controlled by the firstpass width and height sliders and this should be set to near 512x512 for the best results. The next option is the denoising strength. This slider controls how much work the program should do on the higher resolution image, low values will pretty much keep the original image and a value of 1 will make a completely new image. I've found values between 0.3 and 0.6 tend to work well, but you should experiment as different prompts and models handle the denoise strength differently. While the "highres, fix" option is in effect the width and height sliders control the final resolution of the image. For best results you should set these to twice the firstpass resolution as most of the upscalers will double the image size. You can also set an image size that is a different ratio as the base image and the program will just crop the excess. The next, and arguably the most important, option is the upscaler used. This is the "Upscaler for img2img" option in the settings tab under the "upscaling" section. There are quite a few here and I recommend you test each of them to find out the one that works for you and you can even download more here. A popular one to use is the "R-ESRGAN 4x+ Anime6B" or either of the "R-ESRGAN General 4xV3" upscalers.
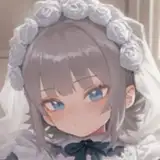
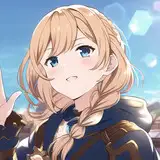
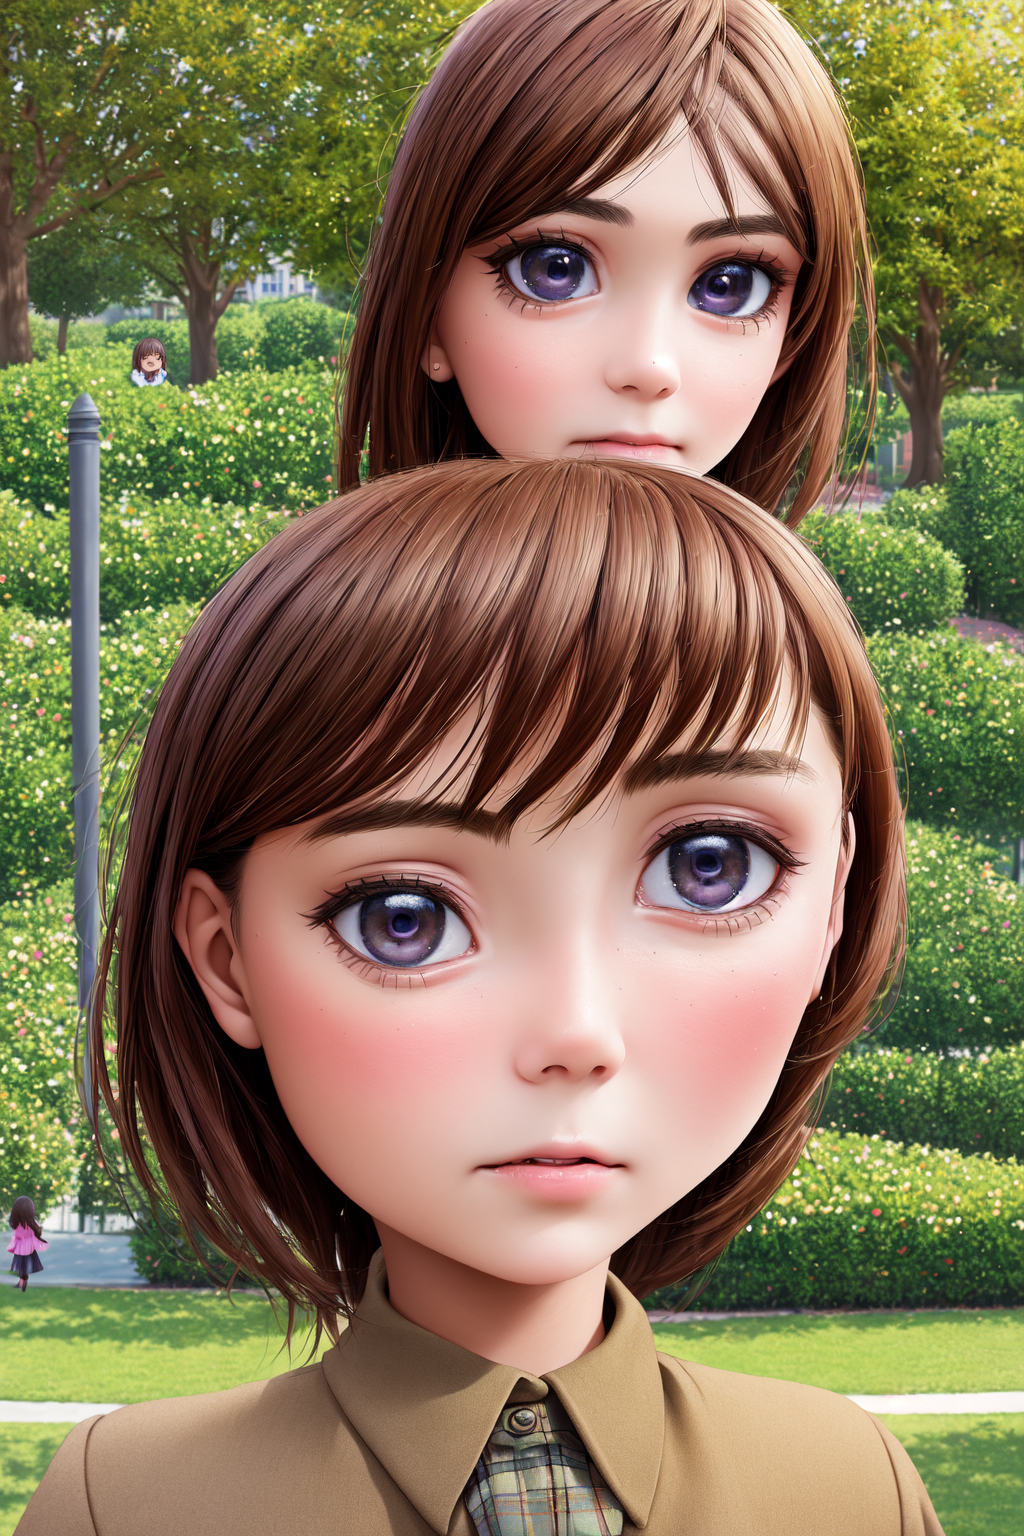
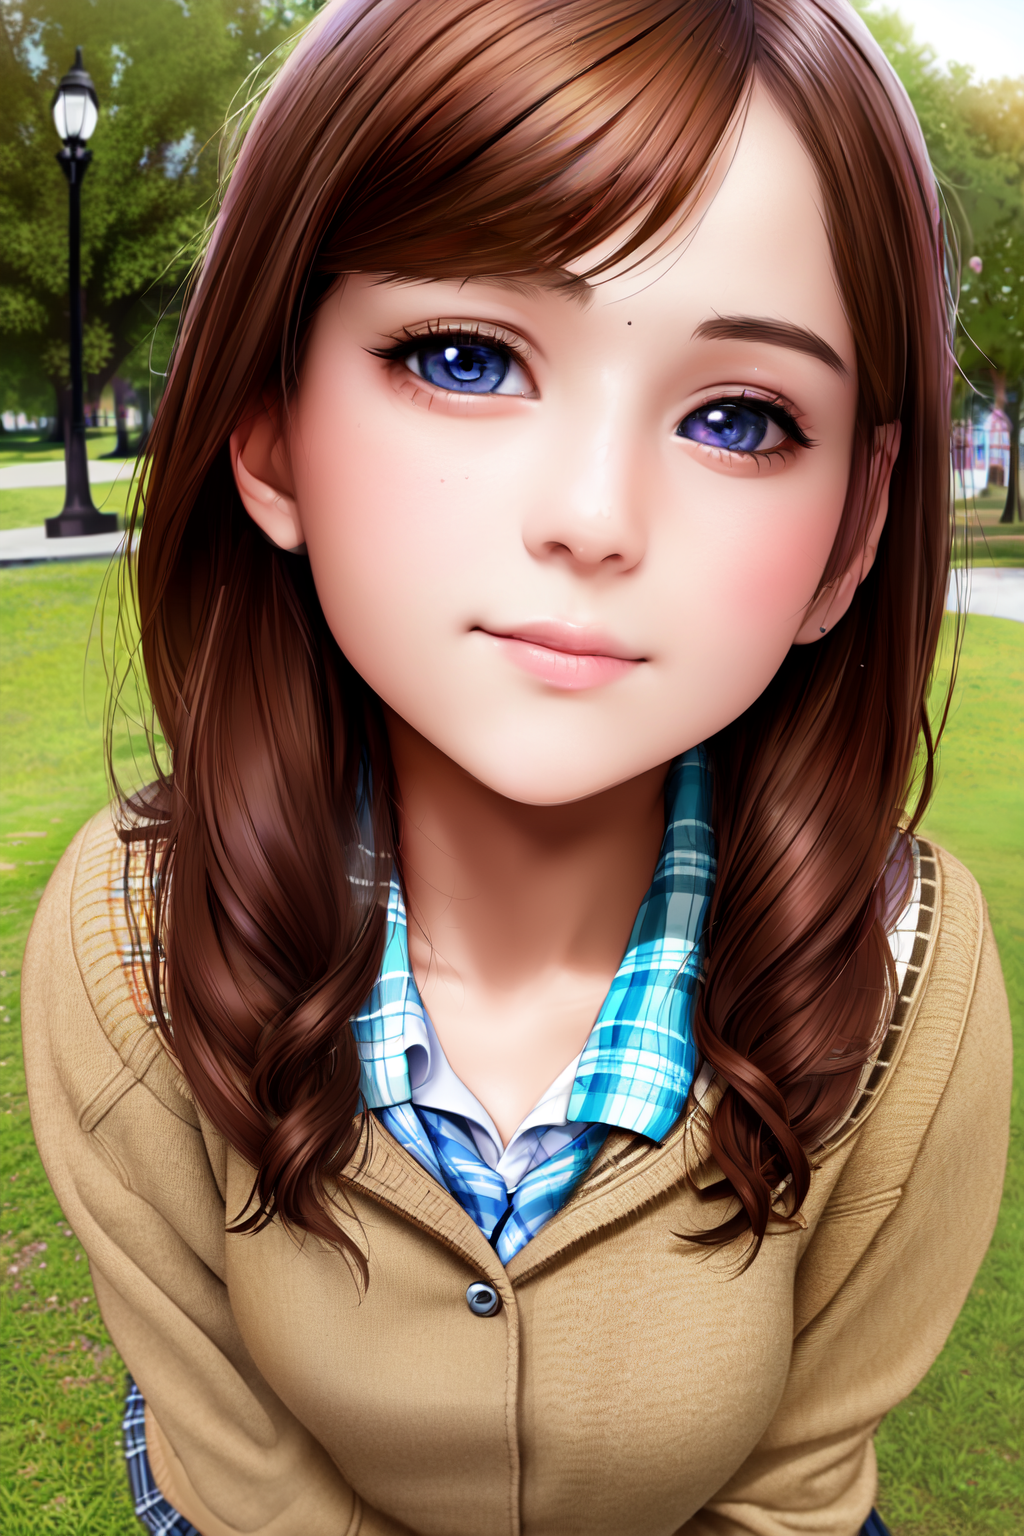
So, let's take the above settings and generate a 1024x1536 image using the "highres, fix" option, a denoising strength of 0.45 and the "R-ESRGAN 4x+ Anime6B" upscaler.
The image took a total of 2 minutes and 37 seconds which is a bit more than the txt2img time, but the result should be much better.
Yep, that's a higher resolution image with more detail, but without the problems of directly making an image of this size. I've found that sometimes the images can come out a bit blurry at lower denoise values, to fix this you can raise the slider a bit, but you increase the likelihood of introducing deformities.
Img2img isn't really meant for upscaling, but you can use it this way. How you do it is to send your image to the tab after generating by clicking the "send to img2img" button at the bottom of the result window. That will send your image, prompt, and settings to the img2img tab and all you need to do then is change the resolution and hit generate. The only other thing you want to change is to set the number of steps to 150 because the actual number of steps taken is reduced based on the value of the denoising strength. If you are only doing a simple upscale without changing the image ratio, e.g. 512x512 to 1280x1280, you leave the "just resize" button selected, if you are changing the ratio, even if only a bit then you should select the "crop and resize" button. the rest of the options work the same way as described above. Doing this is effectively just manually doing what "highres, fix" does, but you can do this in a batch so you can generate a lot of images at a lower resolution, but only upscale ones that look good. You are again limited by your video card's vram so you can only get so big. The main benefit of doing it this way is that you can at the same time adjust your prompt and change the image.
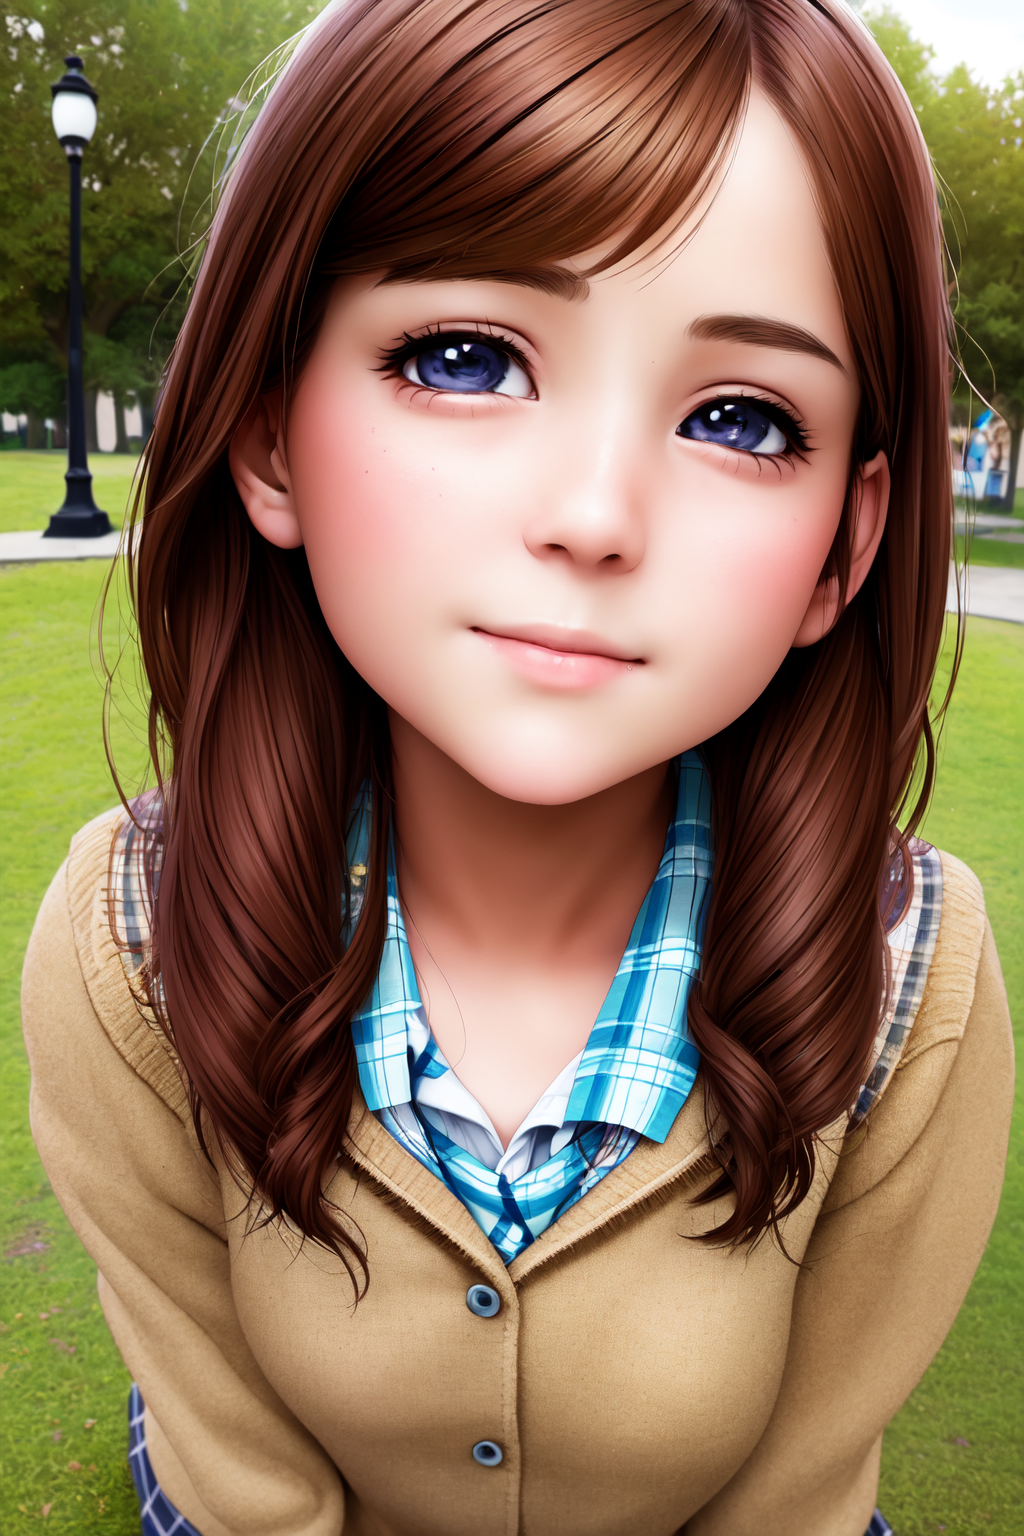
Let's take the initial image, put it into img2img with a step count of 150 and a denoising strength of 0.45 and set the seed the same as it was from the initial image.
This time the image only took 1 minute 56 seconds due to only running 68 steps because of the denoising strength.
Well, that looks pretty close to the image made using "highres, fix". The details of parts of the image are a bit different, but the quality and level of detail are the same.
The best way to upscale images using stable diffusion is by using the "SD upscale" script. You do this just like if you were doing img2img, but at the very bottom you select the "SD upscale" script in the script drop-down menu. You'll see some more options appear, the tile overlap slider and upscaler options. How this script works is that it will double the resolution of the input image using the selected upscaler, split the image into tiles, and then run img2img on each of the tiles. There is an overlap of the tiles to hide the seam of stitching the images back together that is controlled by the slider, but you can leave that at the default value. The upscalers work the same way as described above, but the real magic is how the height and width sliders now work. Since the image is being doubled you may think that the height and width sliders do nothing but that's not the case, they actually control the maximum tile size. By default the script will split the image into 9 tiles, but if the automatic tile size is larger than what is set by the sliders then the image will be split into tiles that are the same or smaller than that. What this means is if you set the sliders to a resolution that your card can easily handle then you can generate very large images by continually feeding the output image back into the img2img tab. Doing this will take a very long time, but you can get images far larger than your computer could generate on its own.
We'll leave the settings the same as the img2img run, but turn on SD upscale and change the width and height to 512x768. Remember this will control the tile size and each of these tiles will be worked on. In this case the image was split into 9 tiles and it took a total time of 2 minutes and 15 seconds, a bit more than the img2img time.
Some areas have a bit more detail or are a bit sharper than the img2img result, particularly in the hair, shirt, and lips. Let's try that again with a denoise strength of 0.25, that should keep the image closer to the base image.
The image is closer to the original image, but it's not as detailed, and areas of the image are blurry or smudged, so this denoise strength is too low for this image. In general around 0.3 to 0.5 works well for most things, but the content of the image may need more or less.
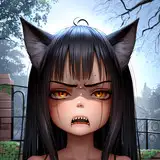
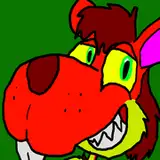
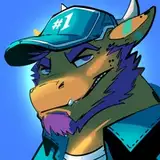
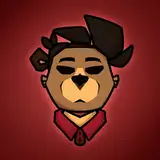
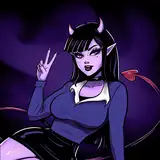
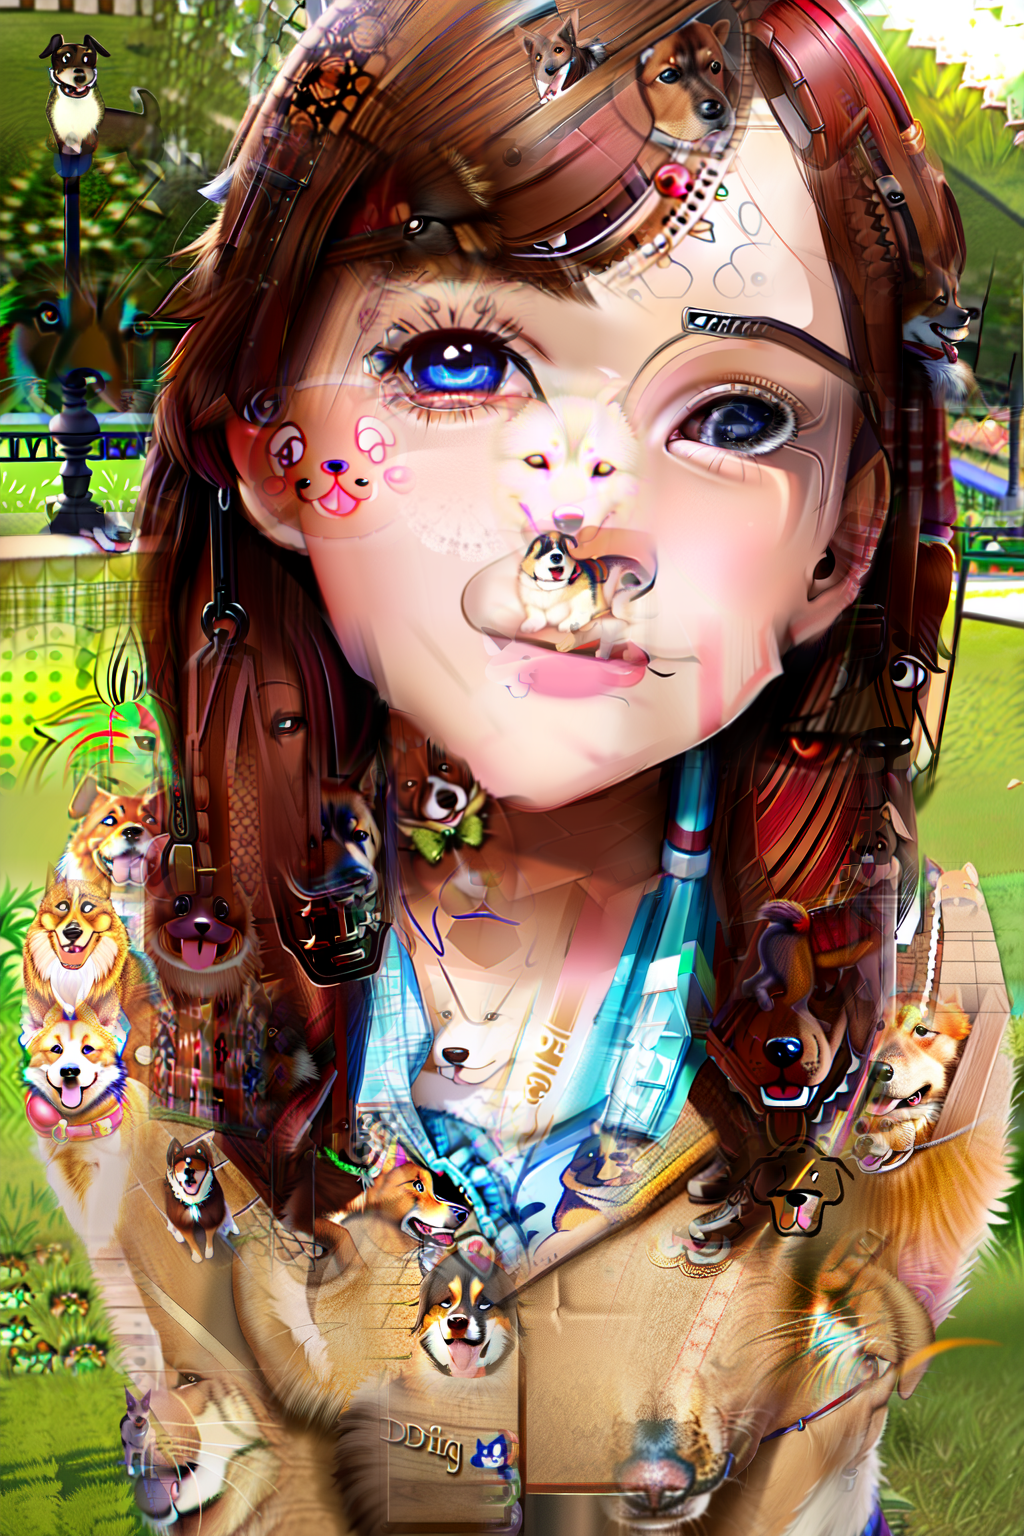
This script also allows us to do some interesting things, you can change the model, sampler, and prompt so you can change the image as much as you want. Now let's have some fun, for this next image let's change the tile size to 192x192, the positive prompt to "highly detailed, dog" and leave the denoising strength at 0.5. This split the image into 96 tiles and applied the prompt to each tile, you might be able to guess what will happen, but let's see.
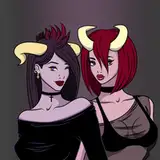
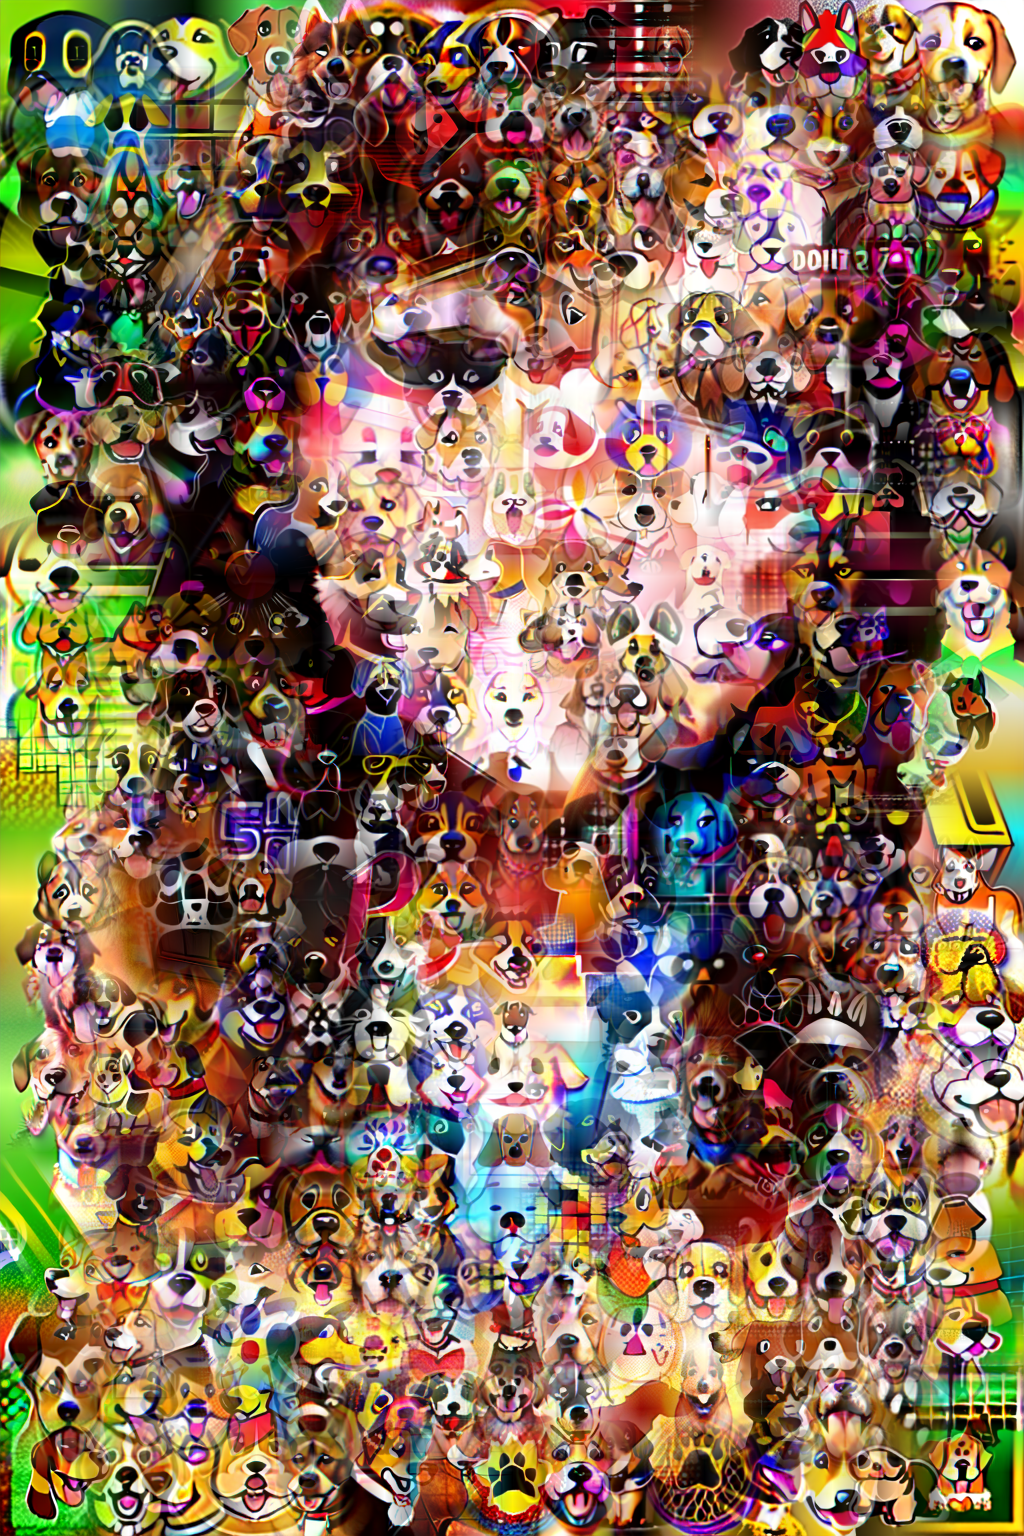
The overall image is the same, but it's made of dogs. Let's crank up the denoising strength to 0.7, reduce the height and width to 128x128, reduce the steps to 100, and change the seed to -1 (for this image it came out to be 110517632), this should strengthen the dogs and make them smaller while leaving the previous image only slightly visible.
Well, there are a lot of dogs and if you squint you can see the basic composition of the original image. If you play around with the tile size and prompt you could get some interesting effects.


