This month we are celebrating our One Year Anniversary!
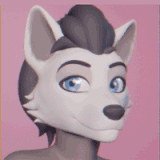
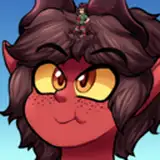
The Checkmate Collection, a double size collection is inspired by the game of chess. A mix of some more casual couture, and some very high fashion evening wear, the collection is made up of eleven womenswear looks and seven menswear! That’s right men, this is the most menswear we have ever made in one collection. That being said we believe in clothing being genderless, so feel free to mix and match as you want.
All of the garments are made with custom image textures, however the colors can be easily adjusted by adding a Color Ramp node between the Image Texture Node and the Principal BDSF. Of course feel free to change garments to any color you would like.
Each garment has multiple materials that all have their own properties and transparency. So you will need to play with the colors to make them match each other. I recommend setting the colors in render view. The lights change them because of the shine or transparency, so it may look ok in material view but once you render it it can be different.
IMPORTANT
For any garment with transparency you can play with the Alpha in the Principal BDSF. I noticed that depending on the lighting of the scene you may to adjust it for your desired transparency.
Look 13 is a Faux Fur Coat, and it has different material nodes for EEVEE and Cycles. Simply Click the Material Output of the one you would like to use.
I have noticed that the majority of the community uses shoes that have been made with the heel slider, so I have built each garment with that in mind. No one wants to see gowns that don’t hit the floor… 😅
These garments are very high poly, it’s the only way to give you the quality you deserve. I recommend working in Solid View and Hiding Particles while placing your sim in blender. This helps reduce lag in the 3D window. That being said, depending on your computer specs they should Render reasonably quickly.
These items are BLENDER ONLY. They will not work in your Sims games. To use them simply append them into the scene where you have your nude sim, then sculpt the garment to better fit your sims body. I normally select the elastic deform tool and make sure the X axis symmetry is turned on. The last step is to assign your sims rig and you are good to go.
I hope you enjoy and don’t forget to tag @hensley.atelier so we can see your photos and share your work!!